


Installing a Spurcycle Compact Bell
Equip yourself with a 3mm hex key and decide where you intend to fit your bell. It can be positioned facing forward, upright, or backward as required for best actuation and to clear other accessories. For modern MTB installations, we recommend placing the bell in the space between grip and brake lever.
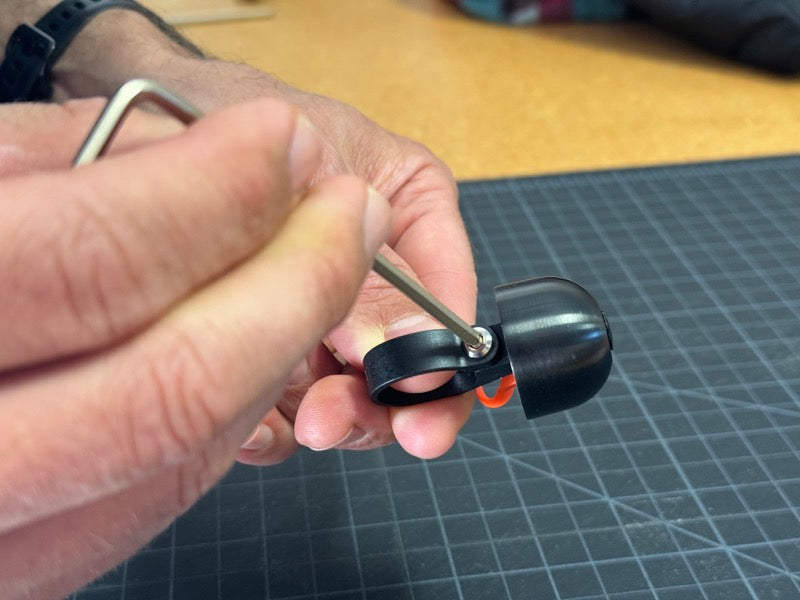
Remove Bolt
Turn the Bolt counterclockwise to loosen. Unthread and remove it completely, then set aside.

Flex Mount around handlebar
Open the Mount strap by flexing it with your hand so that it can be fit around your handlebar.
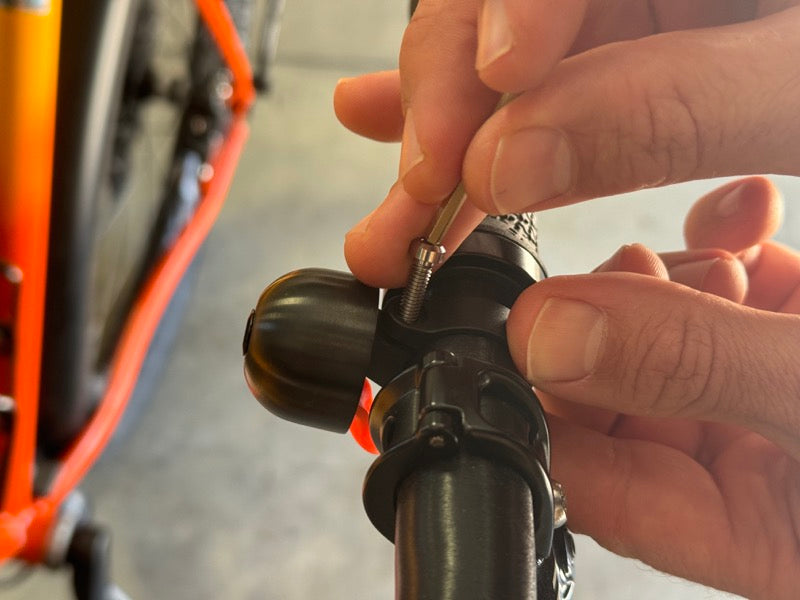
Reinstall and tighten Bolt
Reinsert the Bolt into the Mount using your fingers. It should turn smoothly and very easily. Ensure that it does not cross thread and bind before tightening.
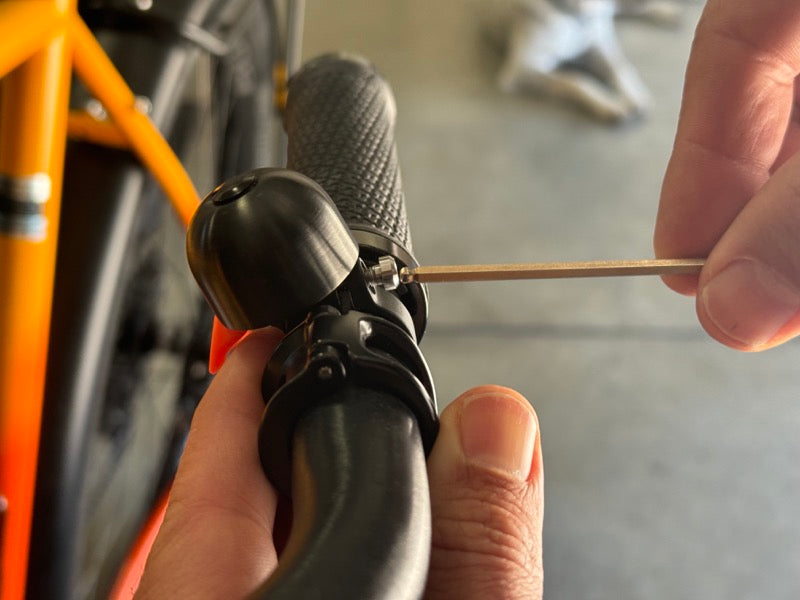
Do not overtighten
Be gentle. It takes very little torque (less than 1Nm) to properly secure a Compact Bell. It should move upon impact to minimize damage in a crash.
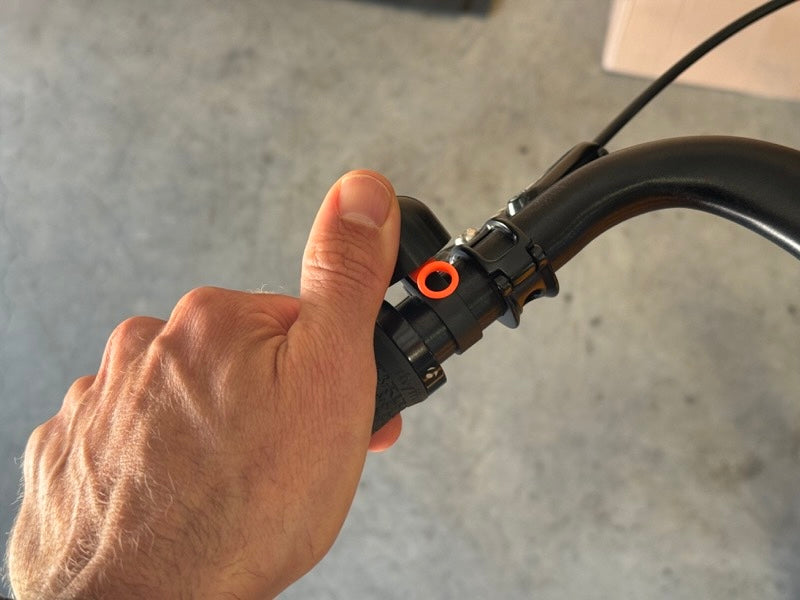
Position Bell
It's easiest to tighten the Bolt in a position that is easiest to access. Then you can hold the bell and firmly rotate it for precise placement and best ergonomics.